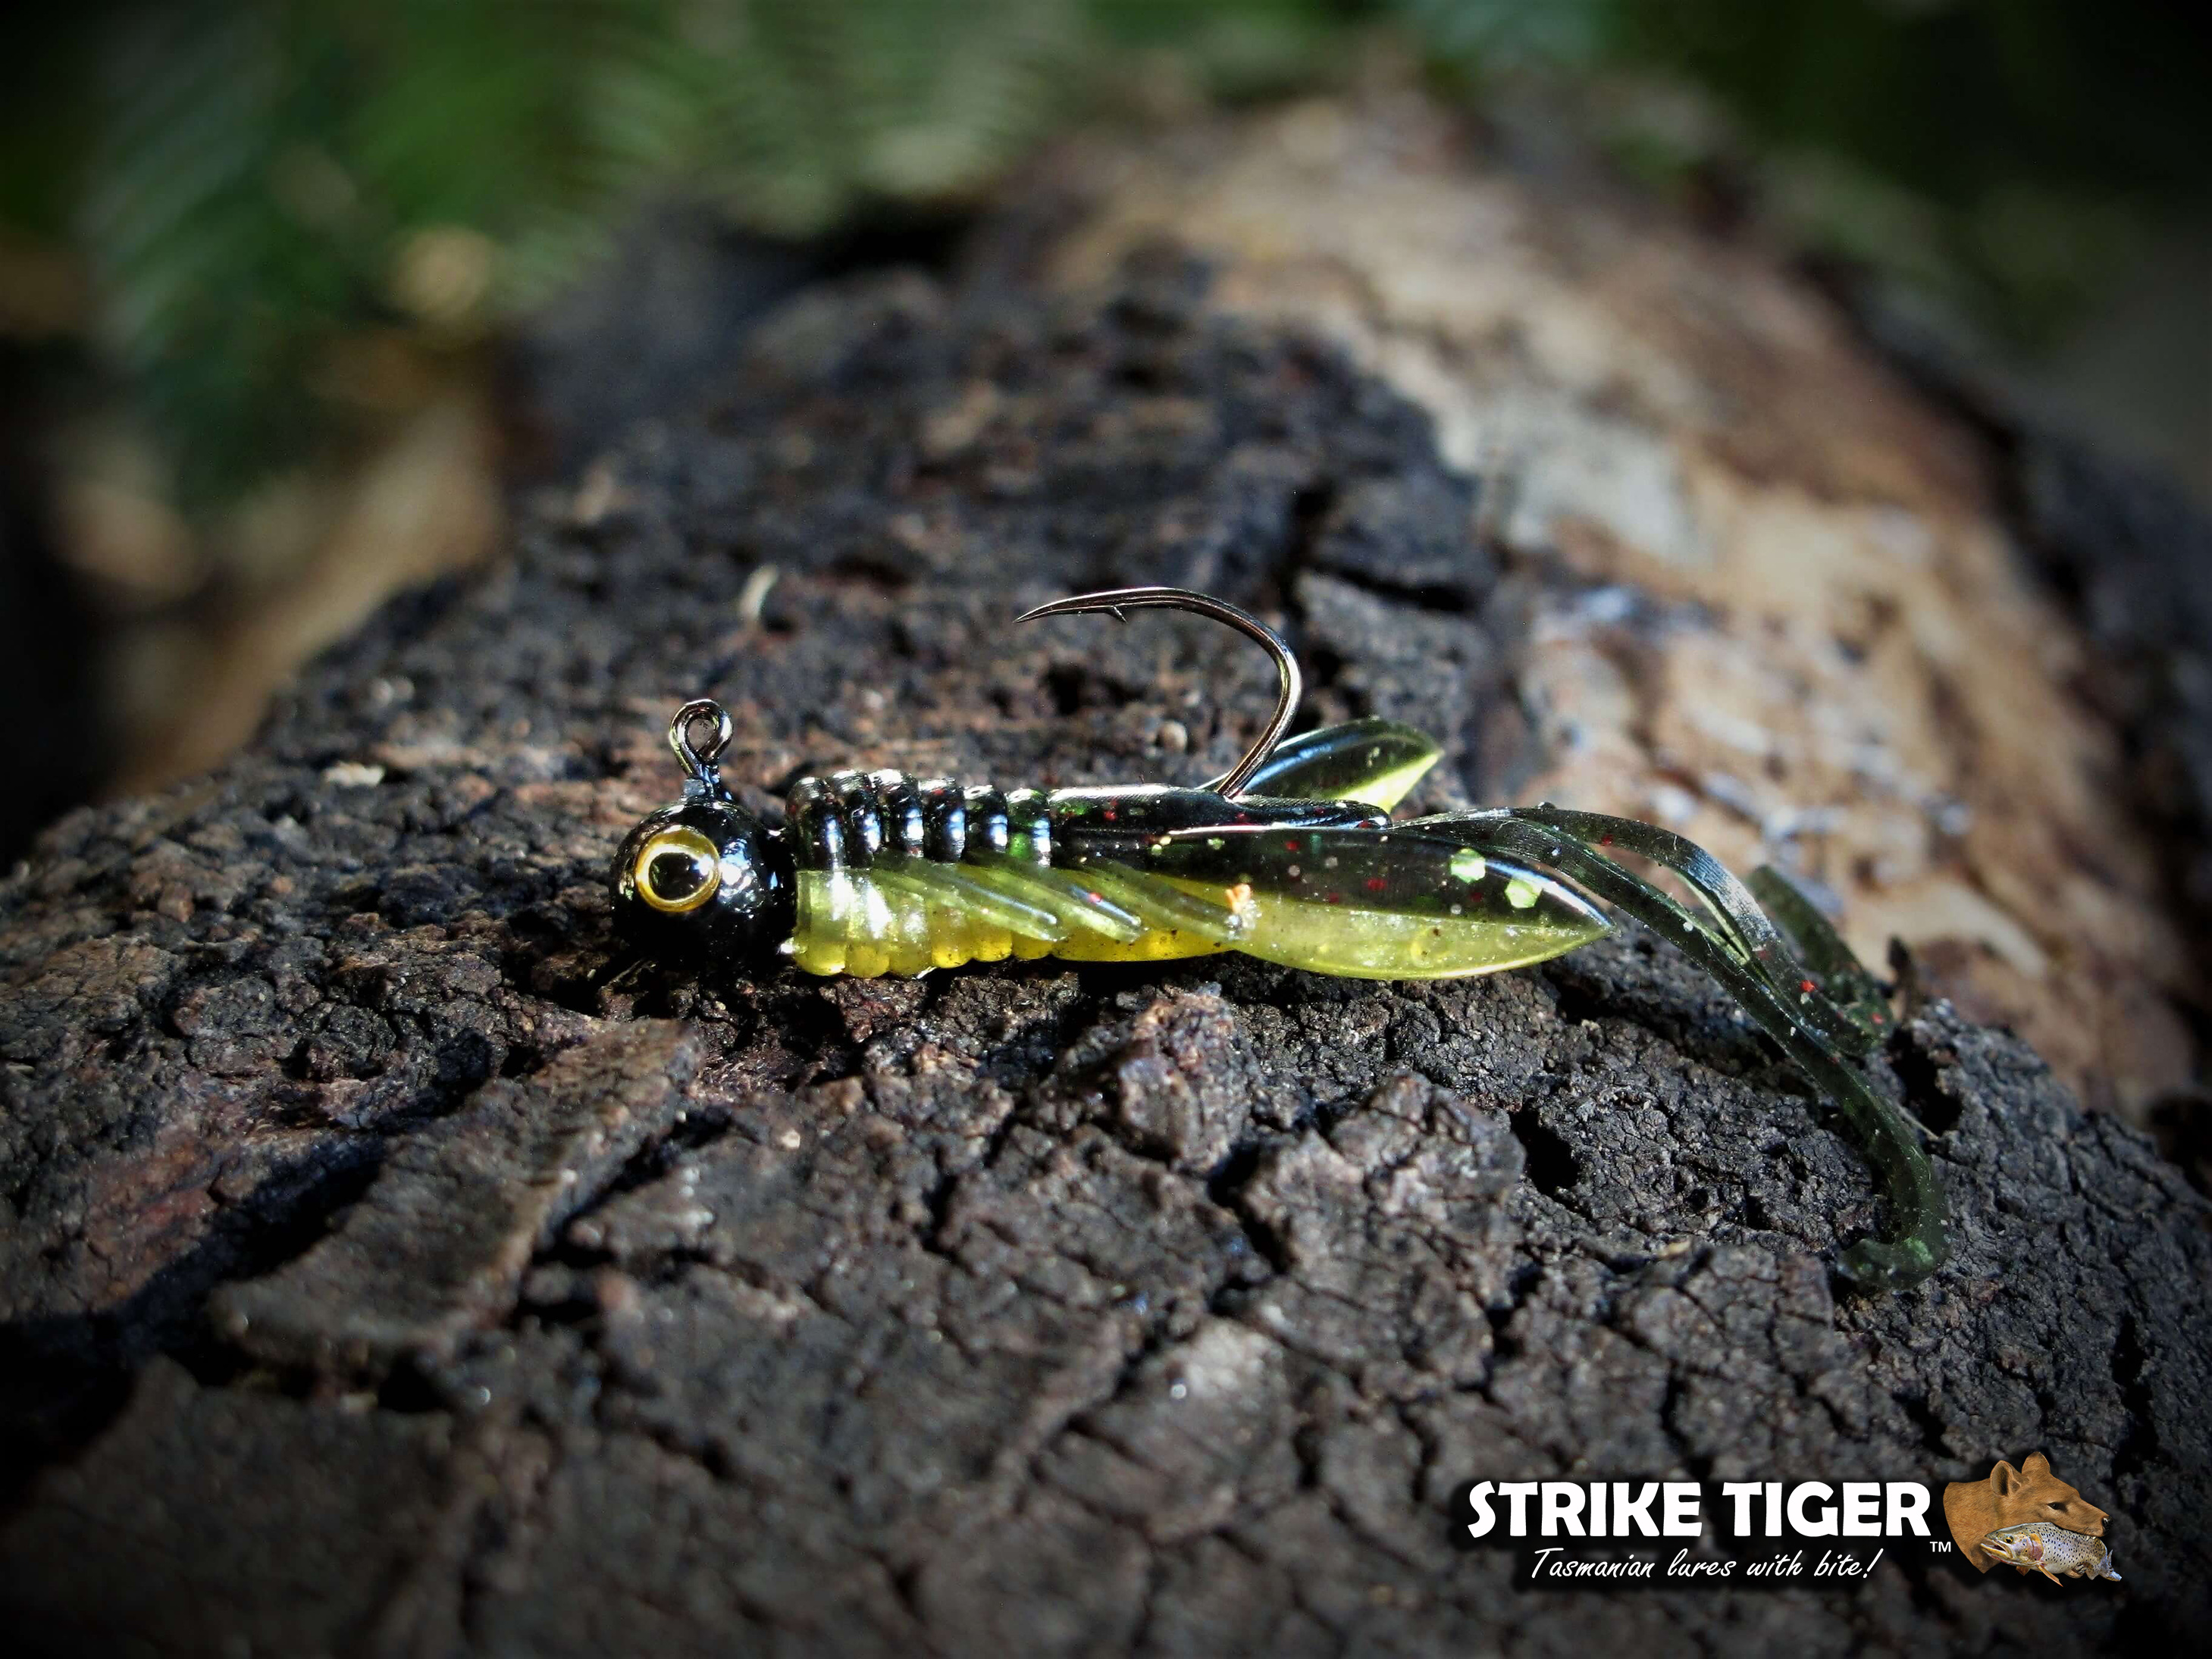
This is a trick that many professional bream tournament anglers use. What many people don't know, is that this little trick works just as well (if not better) on trout and other freshwater species! The term ‘pimping’ simply means enhancing the appearance of your lures. In order to get the most realistic presentation possible, you can easily paint jig heads to suit your soft plastics. Nail polish is your best friend when it comes to this task. Coloured nail polish is a suitable and inexpensive product to use for this purpose. Strike Tiger lure eyes are then used to give the jighead some very realistic appeal.
WARNING
This is a fiddly and time consuming process - but the final result is amazing!
List of materials you will need
Here are the items that are required to pimp the Strike Tiger jighead (fitted with a Strike Tiger nymph) as per the picture at the top of this page: black nail polish, clear nail polish, Strike Tiger 3 mm amphibian lures eyes, Strike Tiger 1/16 size 4 jigheads, Strike Tiger 1" pro-series nymph Stealth Tiger. A pair of tweezers (handy if you have fat fingers).
A fly vice is a very handy item to hold your jighead throughout the pimping process. If you don't have a fly vice, grab a piece of polystyrene foam packaging. Sink the end of the hook into it, and presto, you have a holder for several jigheads!
- Strike Tiger jigheads 1/16 size 4
- Strike Tiger jigheads 3/32 size 4
- Strike Tiger jigheads 1/16 size 2
- Strike Tiger jigheads 3/32 size 2
- Strike Tiger jigheads 1/8 size 2
- Strike Tiger jigheads 1/8 size 2
Step 1.
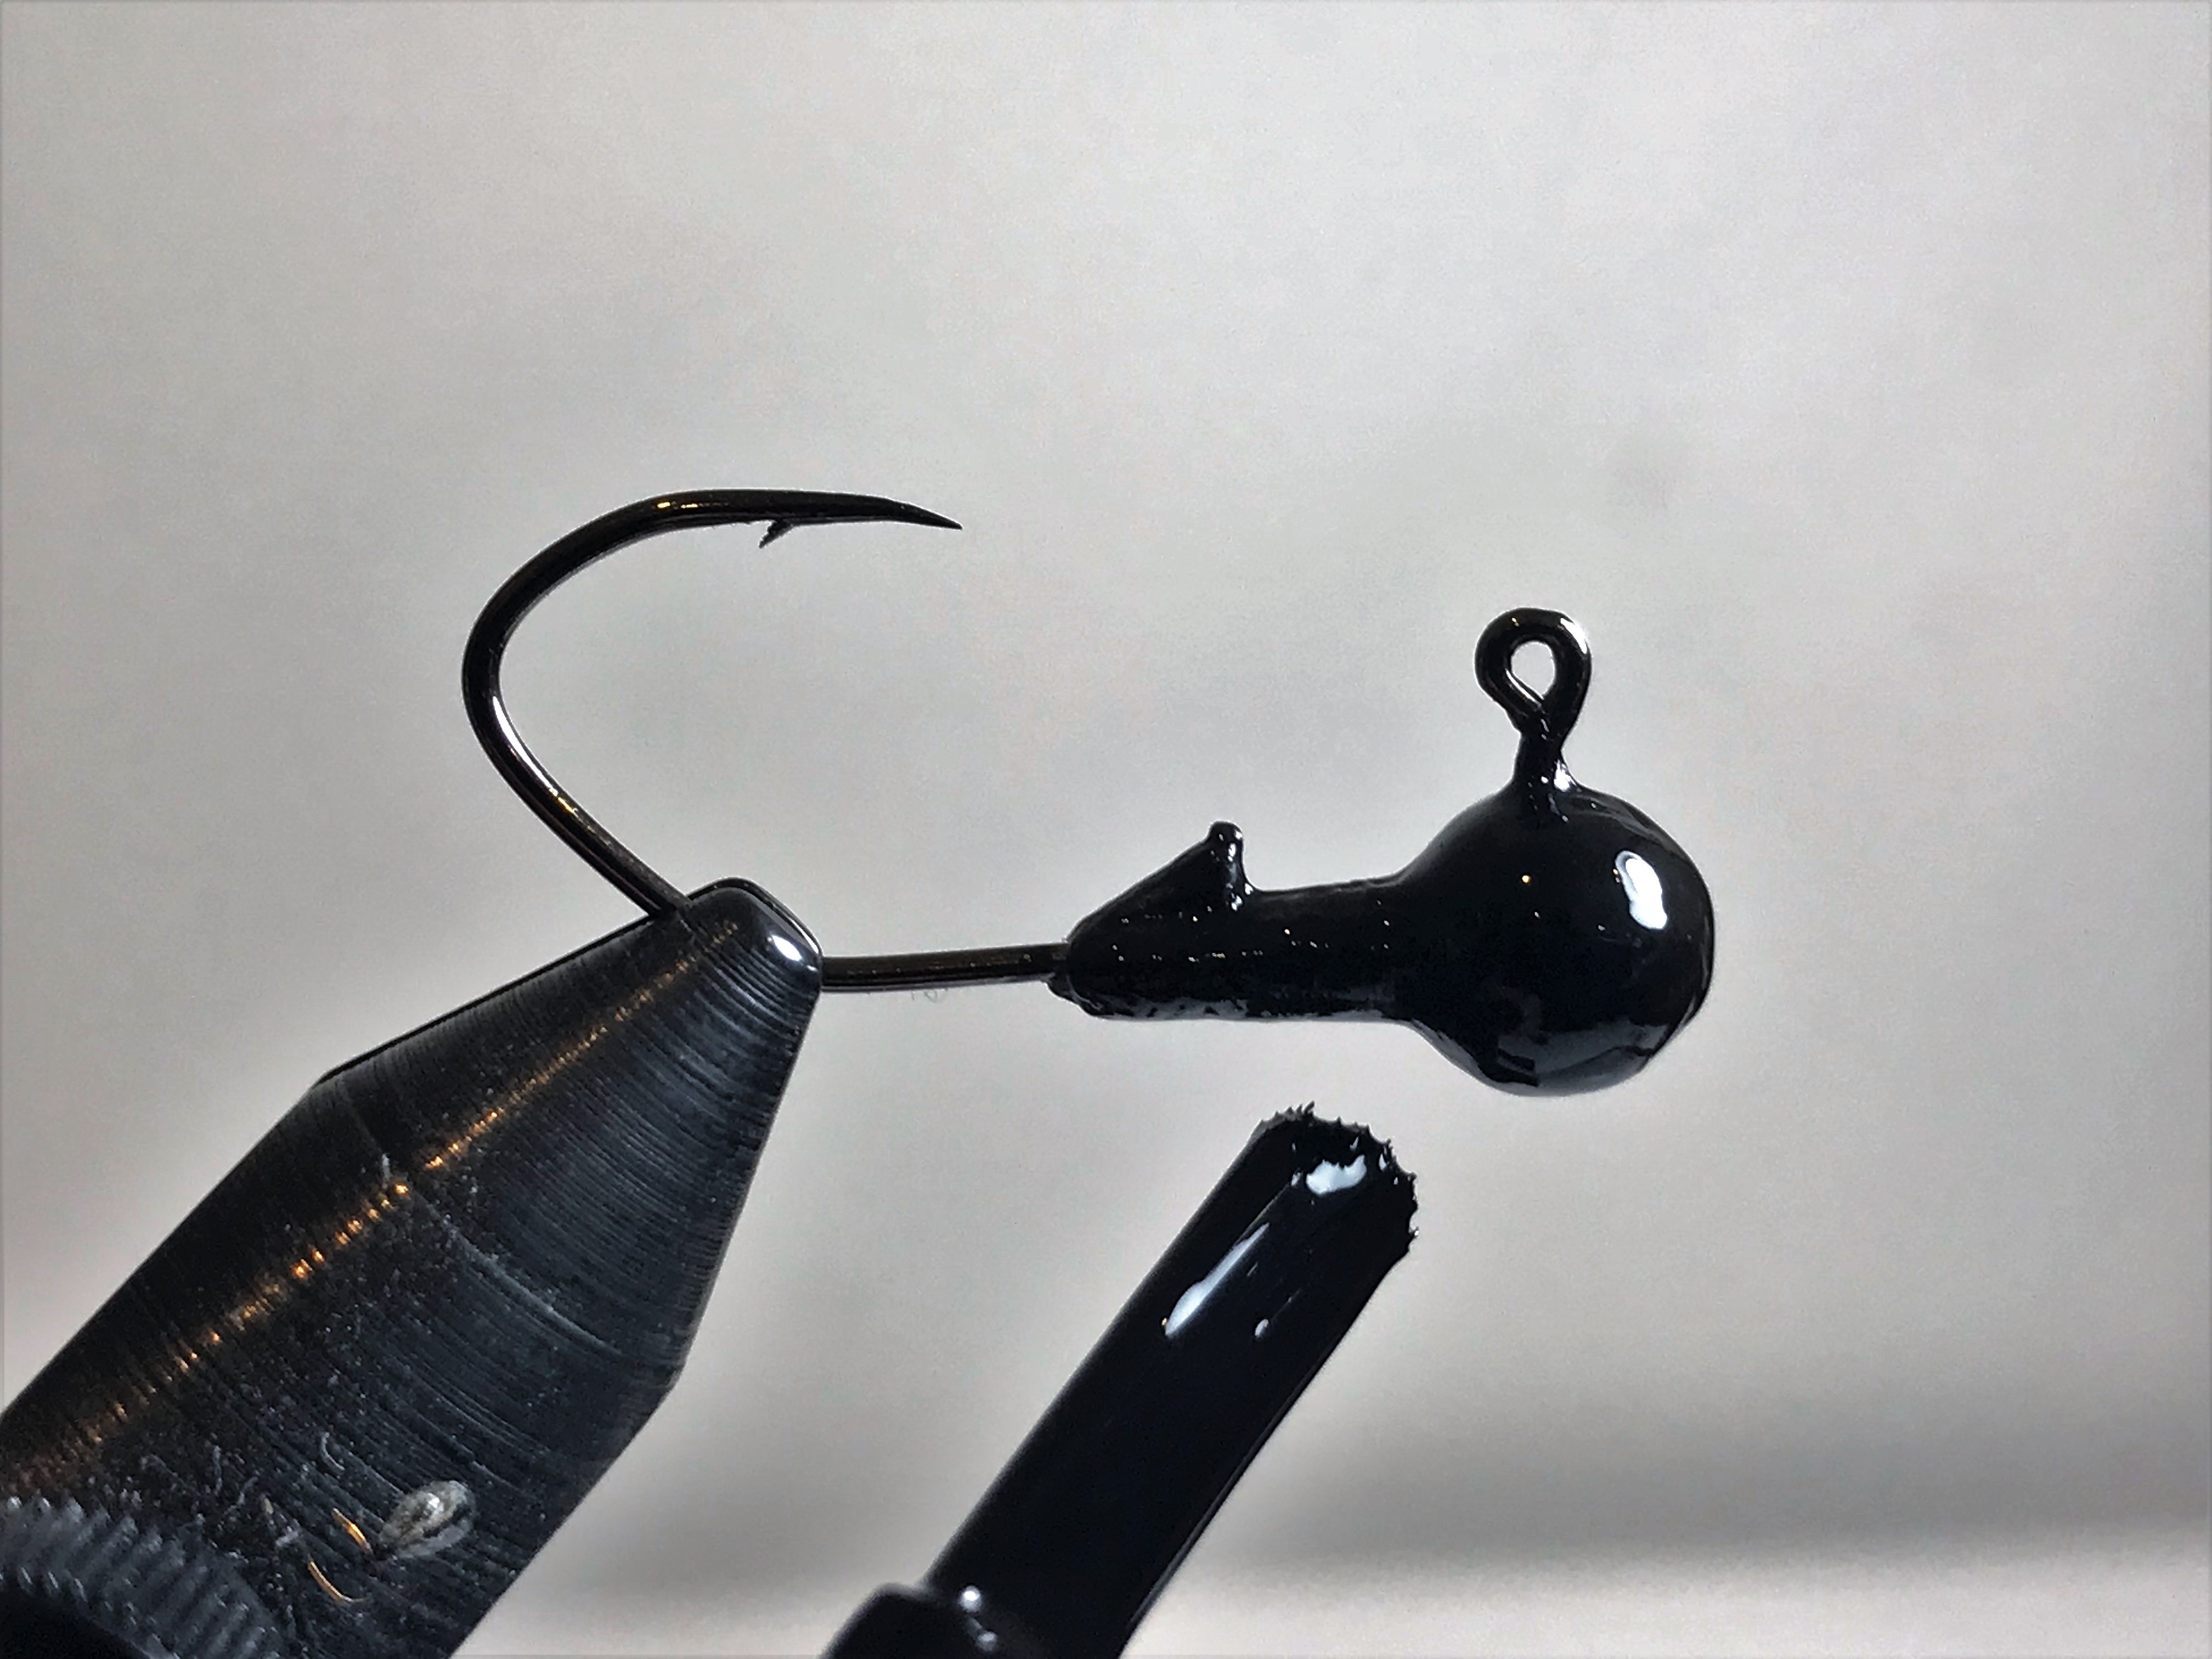
Apply a thin layer of your chosen nail polish evenly to the jighead. Don't go too thick in applying it. If you apply it too thick, you will get runs and imperfections. Let the first coat dry thoroughly. Once dry, apply a second thin coat. This second coat will ensure an even finish. Again, make sure you let it dry thoroughly.
Step 2.
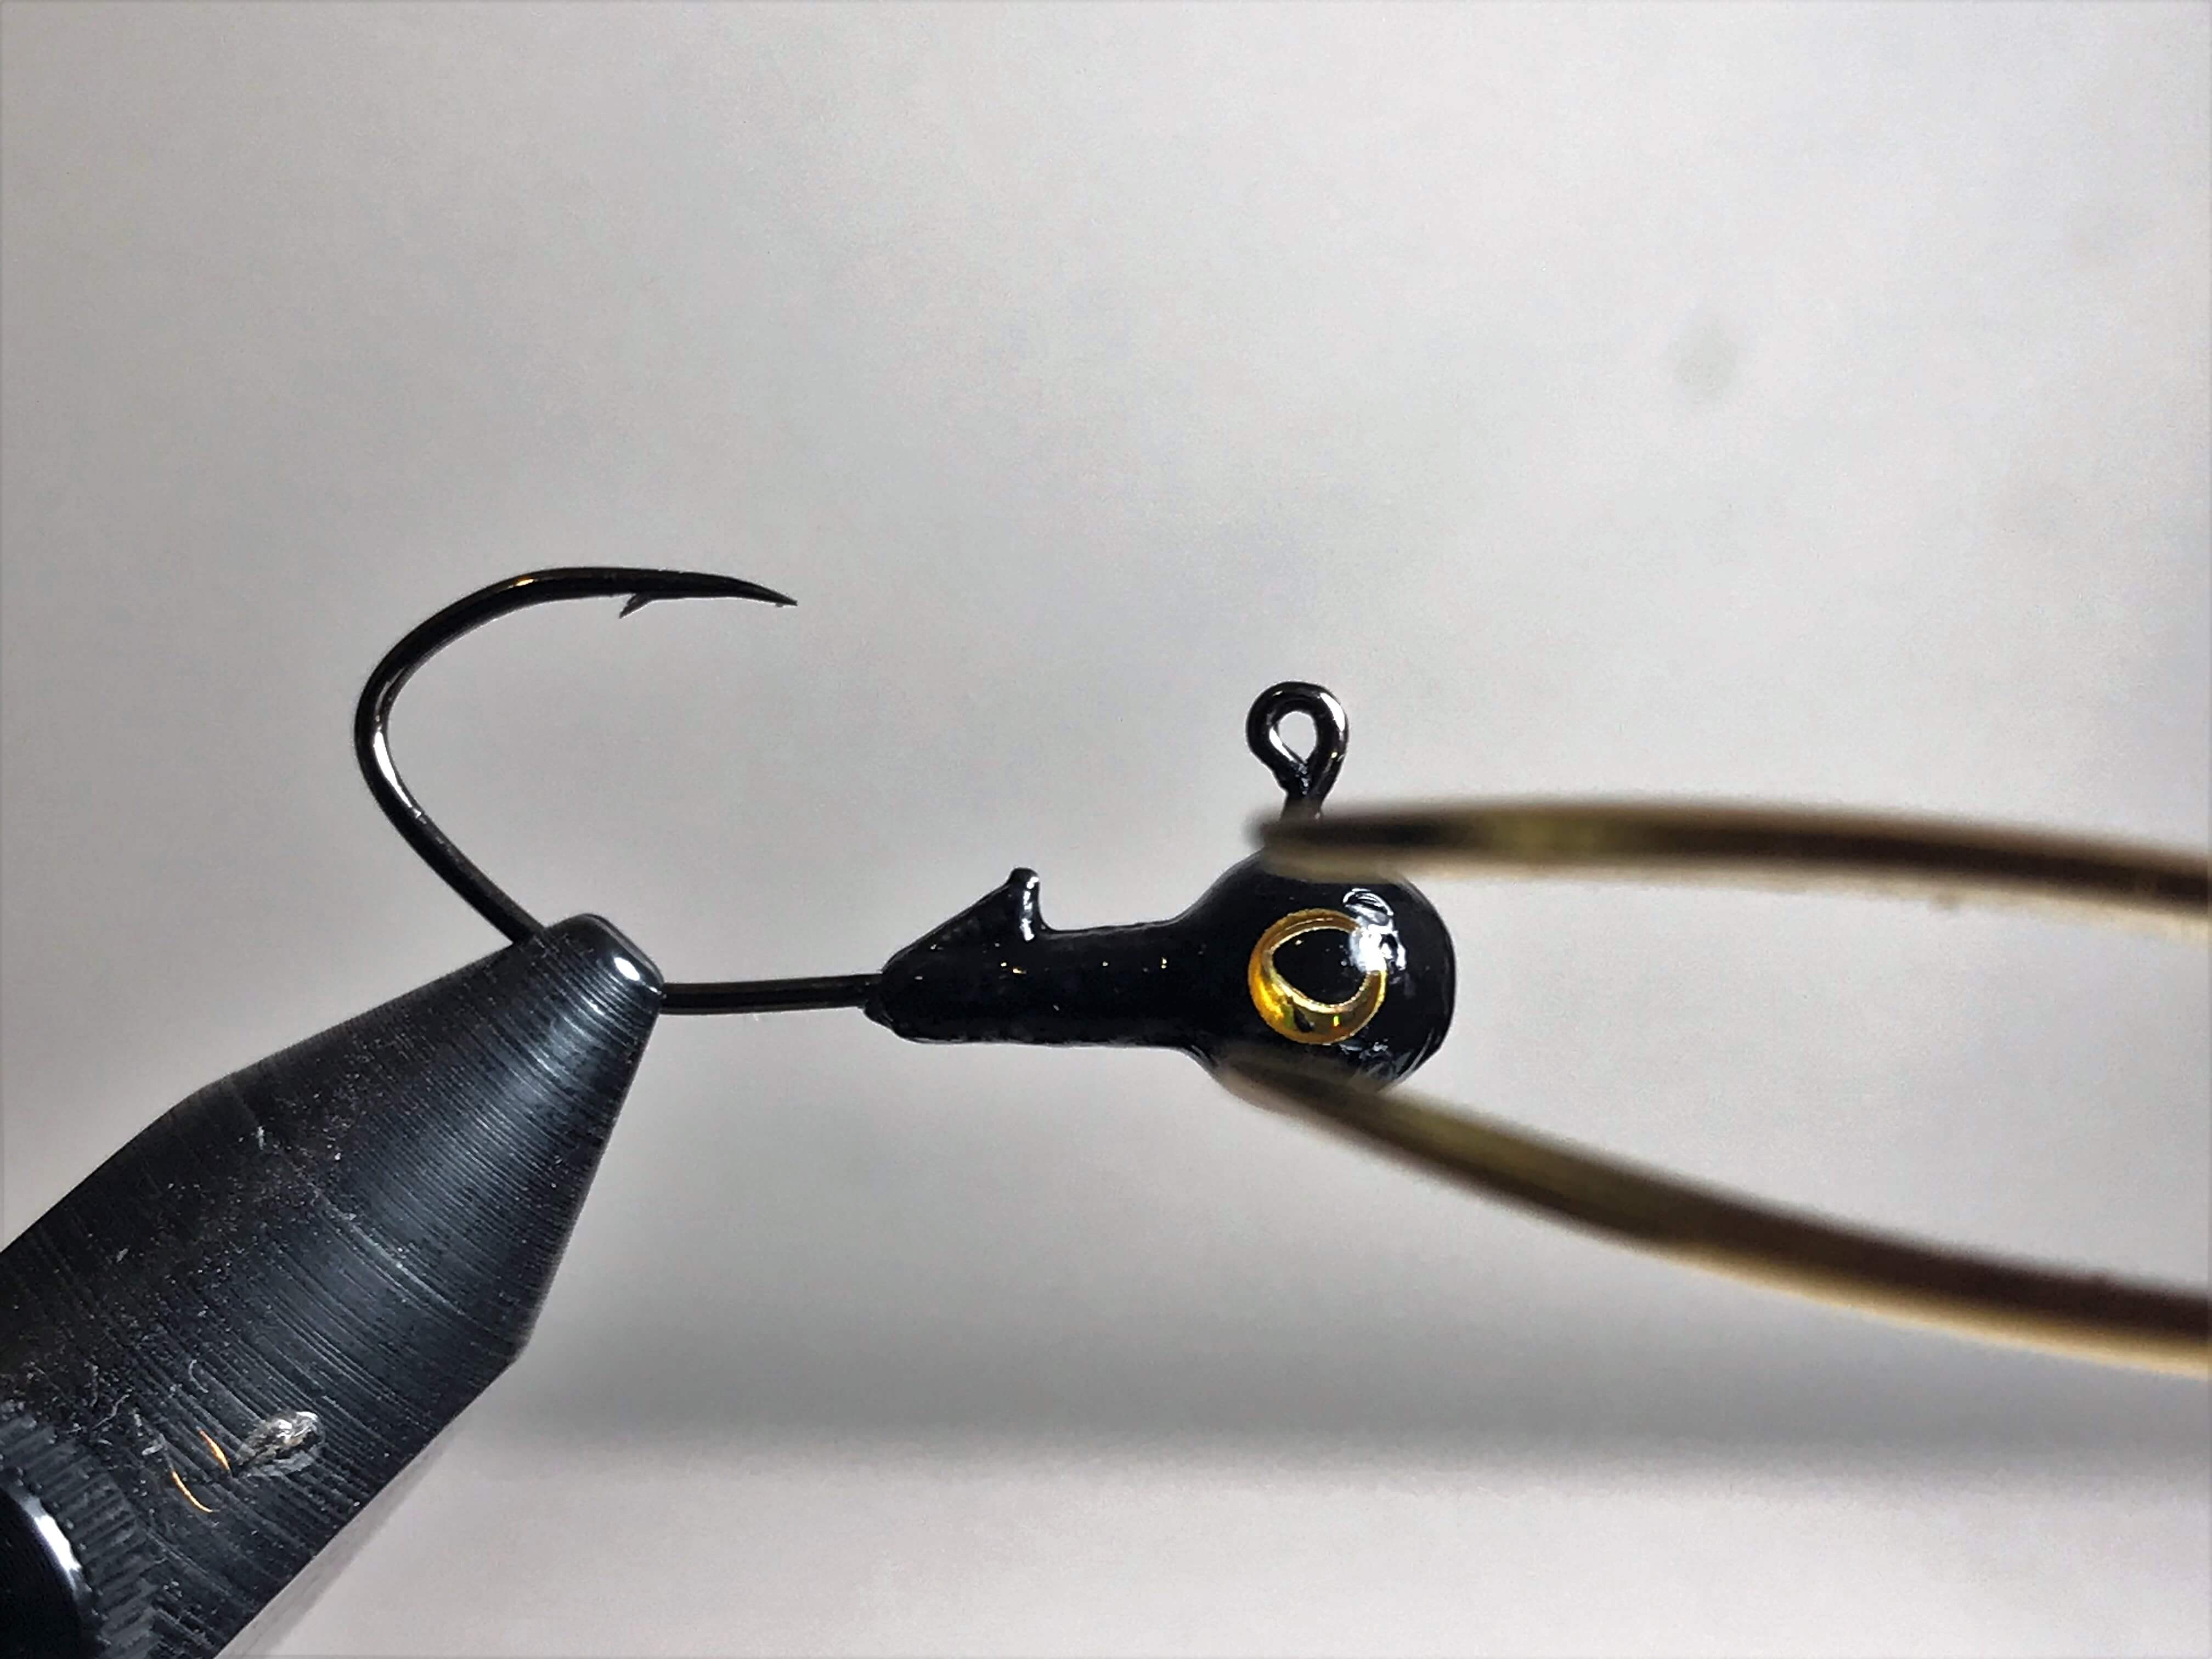
This is the fiddly part - stick your lure eyes onto either side of the jighead. Strike Tiger lure eyes have a self-adhesive backing for this purpose. You may find that positioning the eyes will be easier using a pair of tweezers. The idea is to have both eyes aligned as evenly as possible. In saying that, you don't need to be exact with this either.
Step 3.
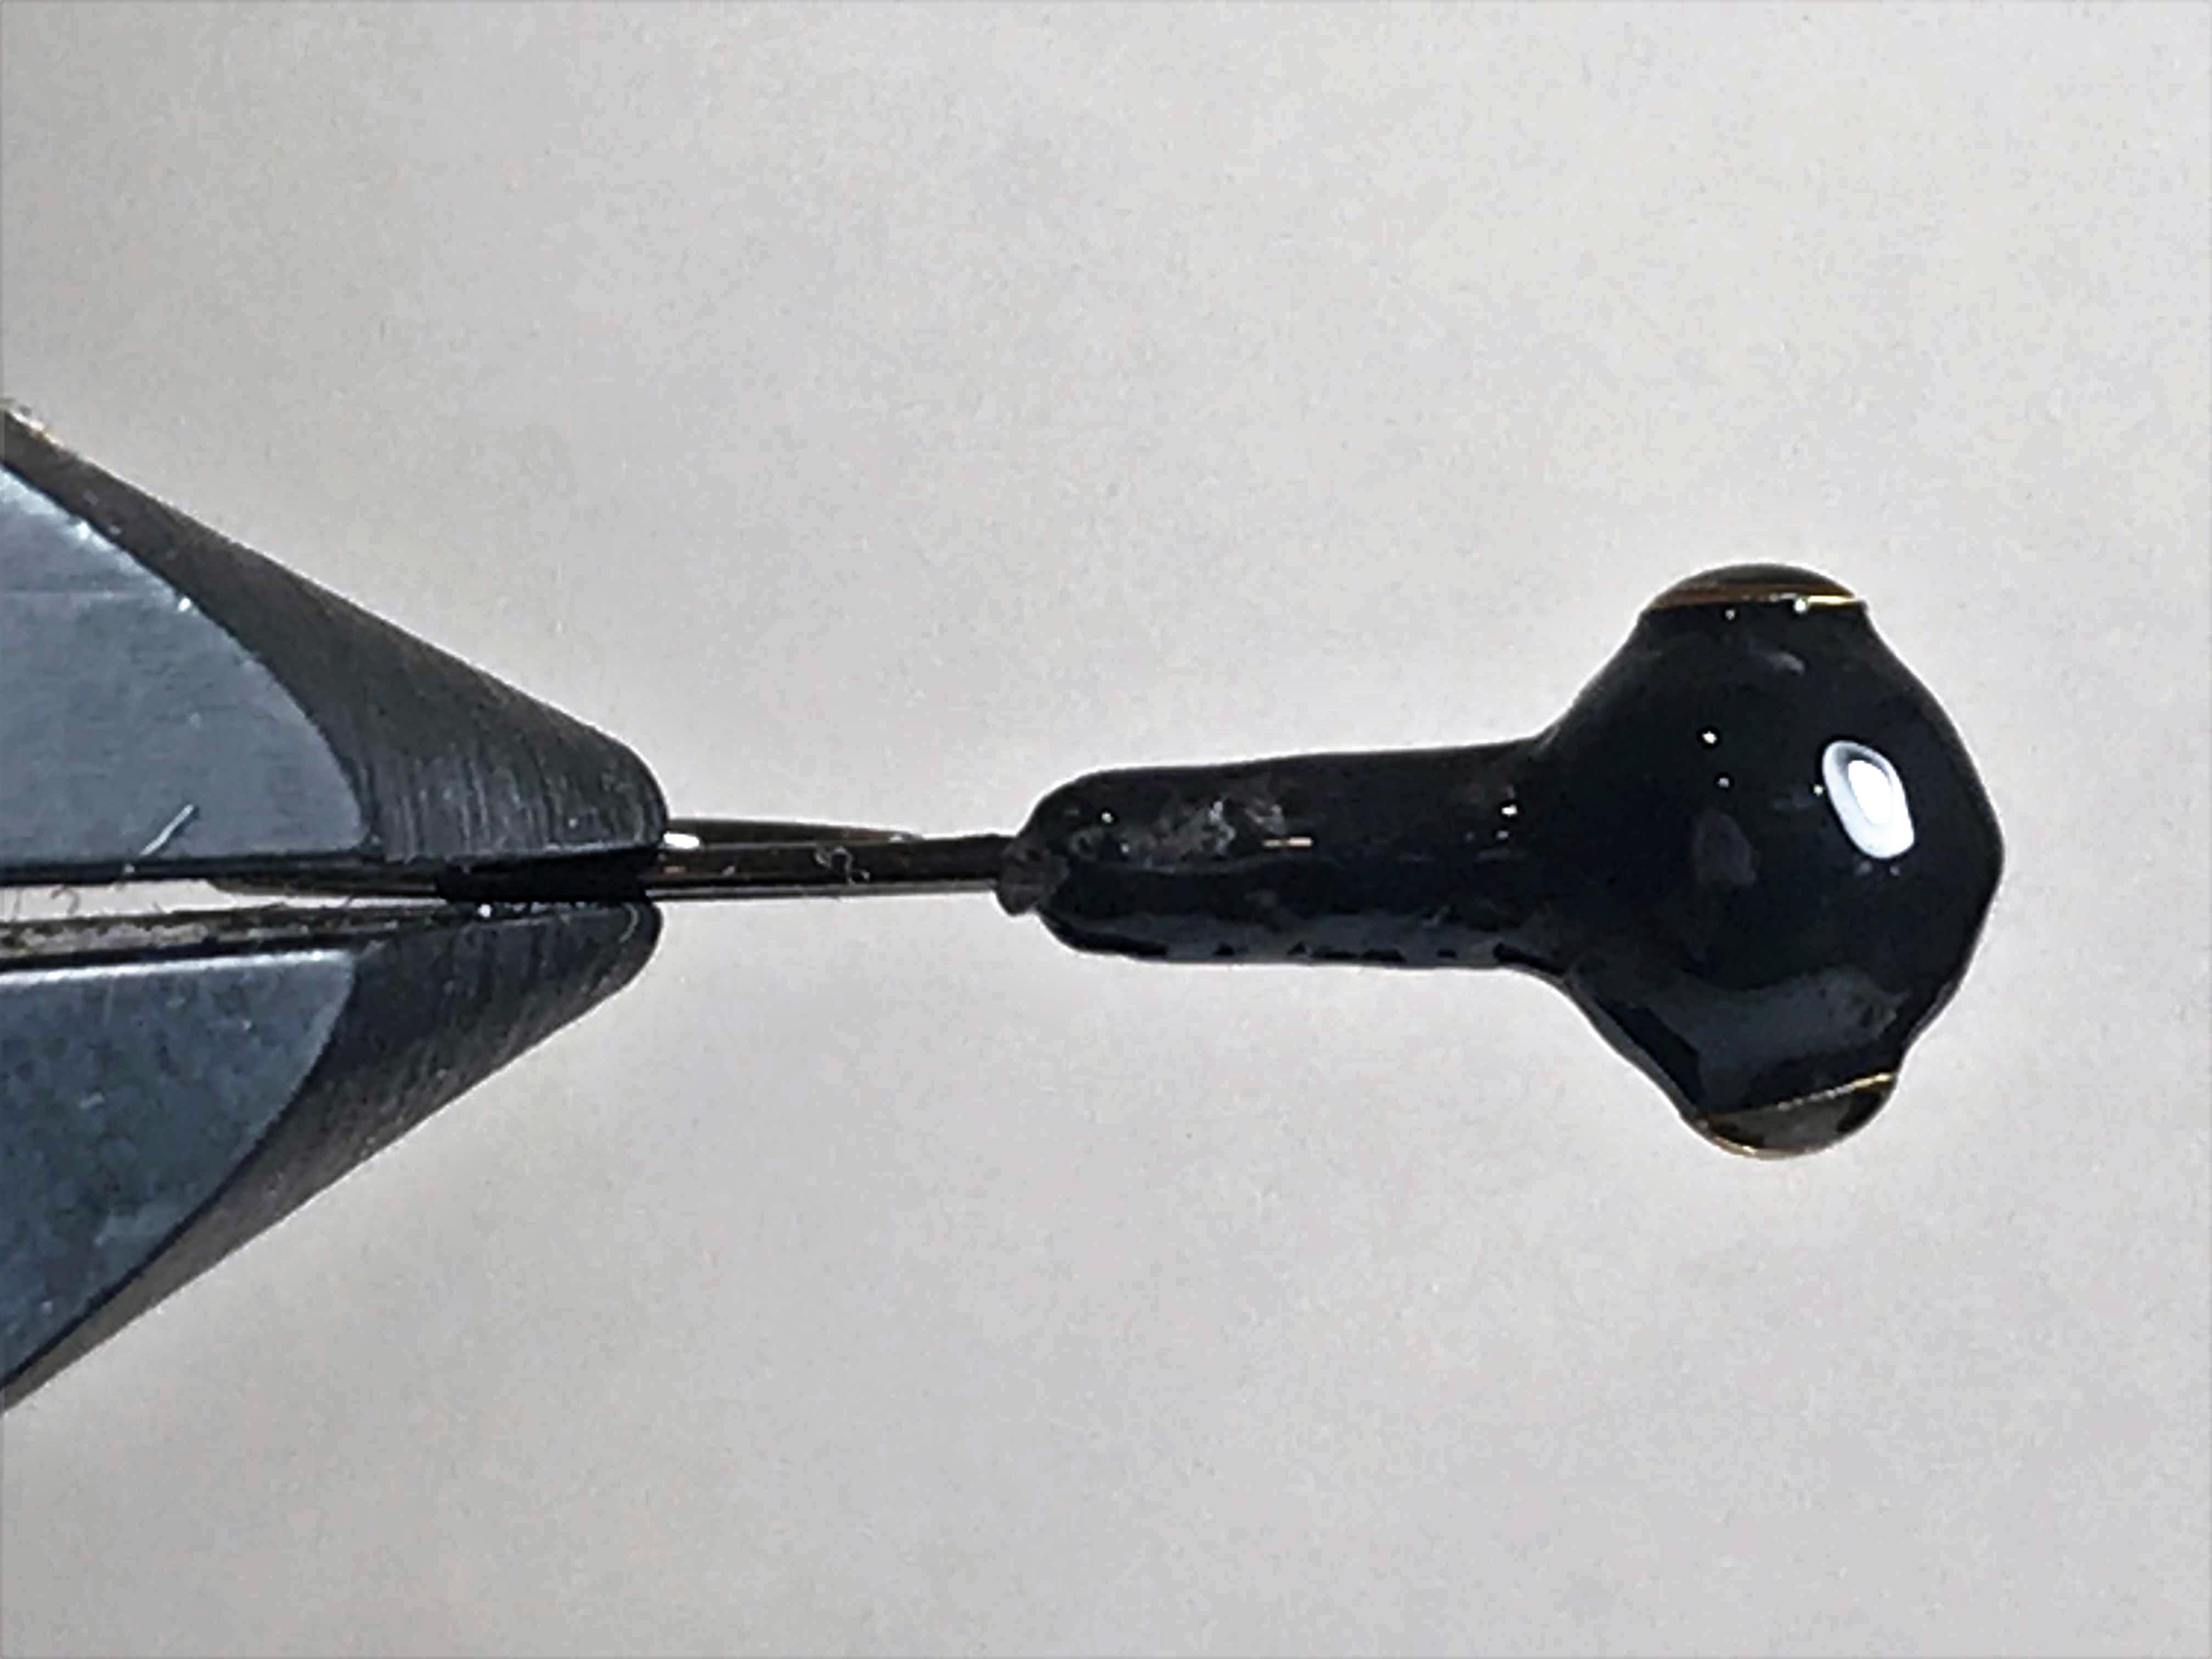
This final step is crucial if you want your lure eyes to stay on. You will need to apply 2 x coats of clear nail polish over the top of everything (i.e. over the eyes and also the painted part of the jighead). Make sure that you let the jighead dry thoroughly between coats. If you look at the picture above (top view of jigead), you will notice that the clear nail polish has completely sealed the eyes. There are no gaps between the eyes and the jighead surface.
NOTE: an extra durable finish can be achieved by replacing the clear nail polish with a clear two pack epoxy adhesive. You can try dipping the entire jighead in the epoxy in order to seal it. This is also an inexpensive product which can be obtained at most supermarkets or hardware stores.
The finished product
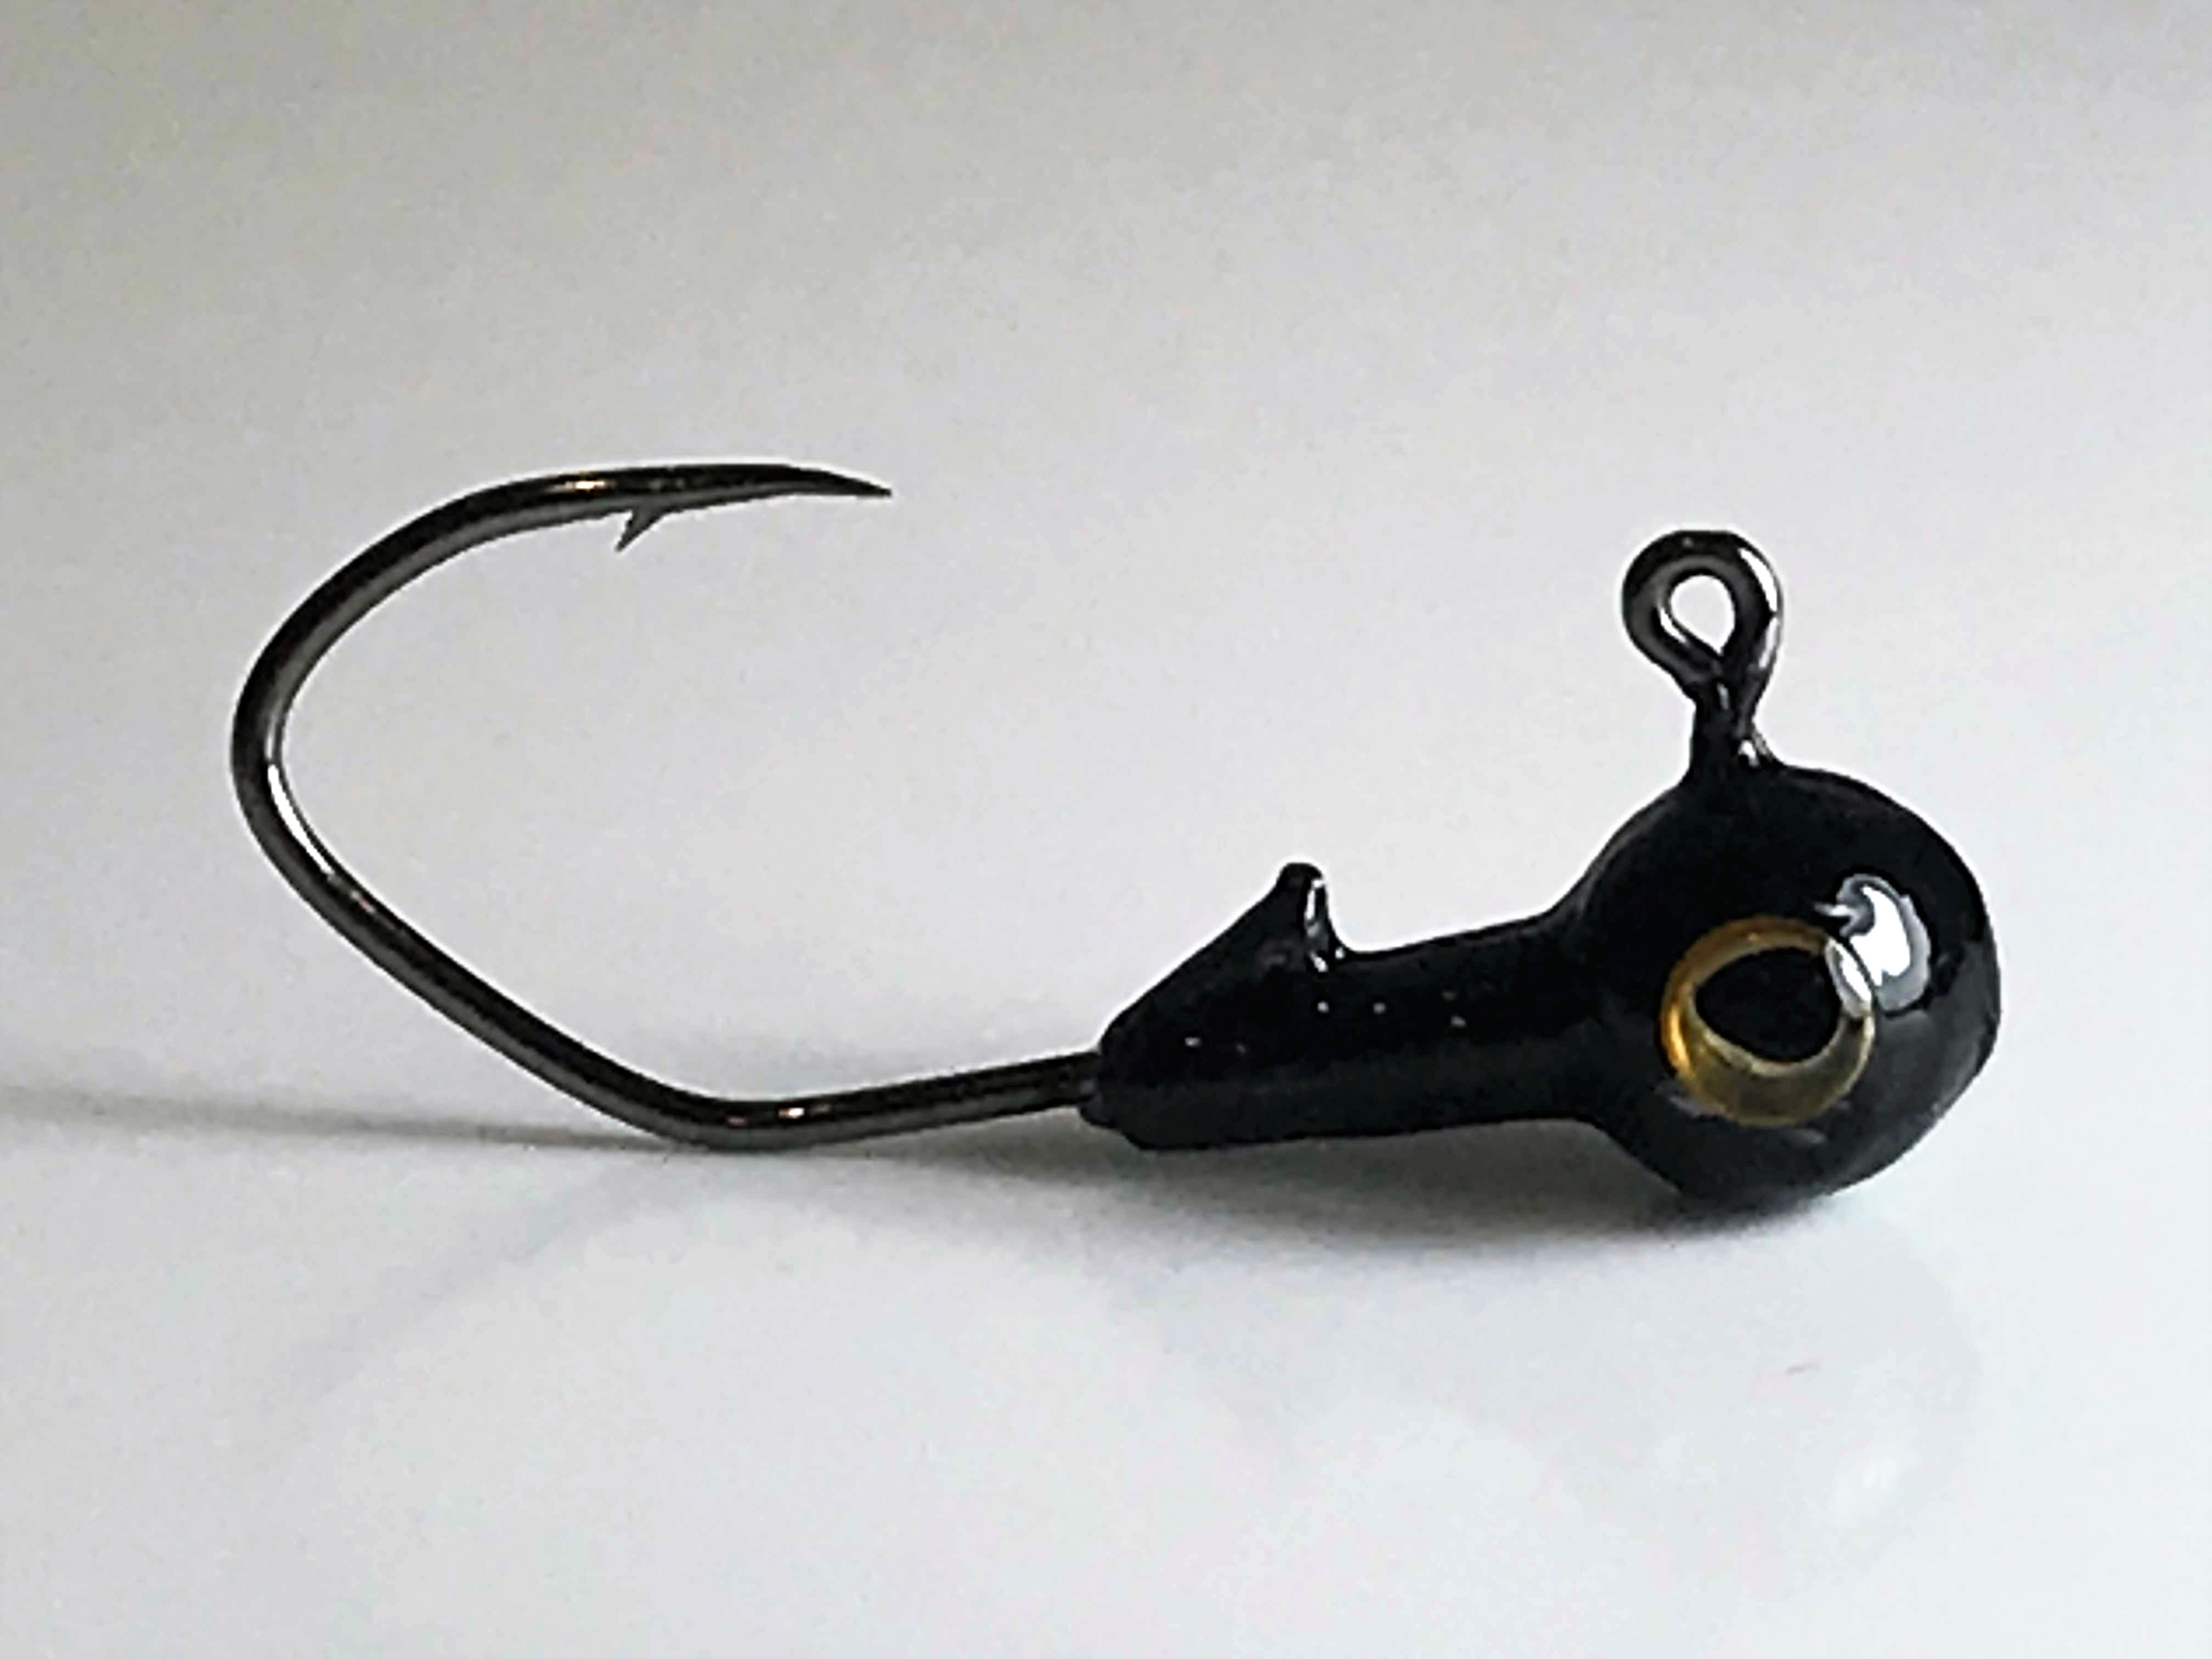
Above: this is what your 'pimped' jighead should look like. Next, choose your Strike Tiger soft plastic from our deadly arsenal....
NOW GO AND OUT FISH YOUR MATES!
